Apples are available in any season and they can be served in sooo many recipes! I just thought of making an Apple Danish recipe for today.
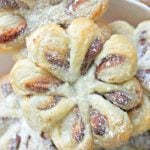
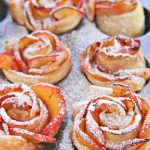
Apple Danish recipe
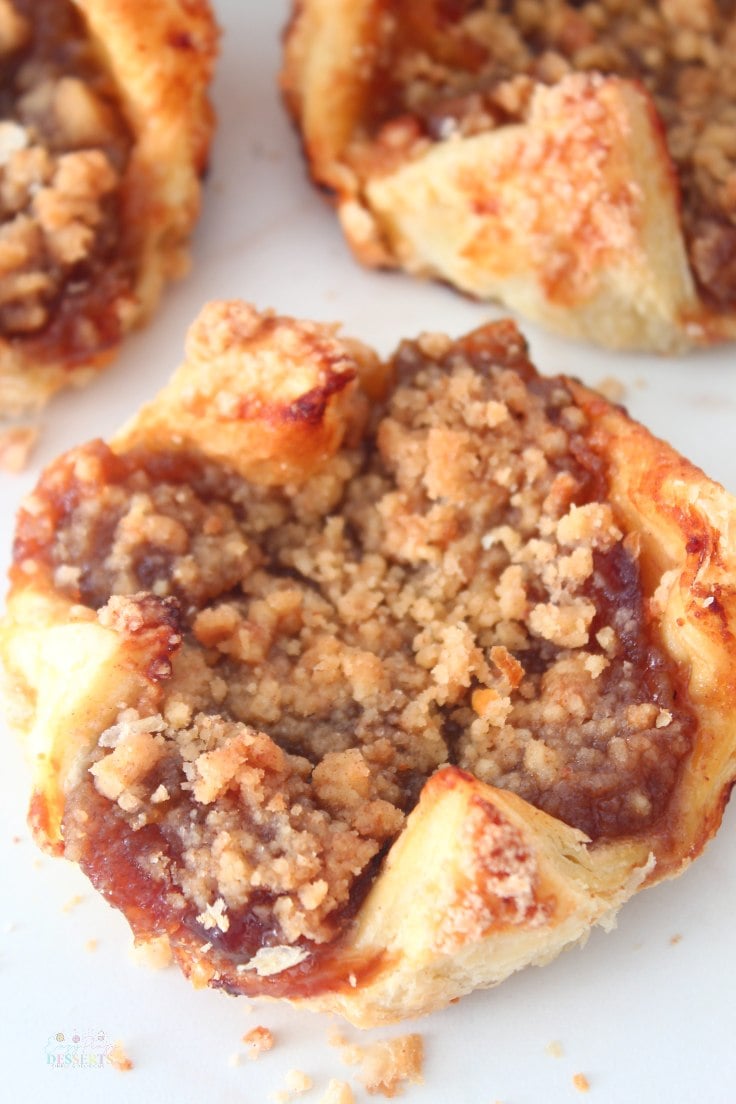
Puff pastry mixes so well with baked apples and makes the baking process a lot faster and easier than baking desserts from scratch. Today I’m going to show you how to make this apple Danish recipe the easy way.
Apple Danish pastry is a great treat that is extremely quick and easy to make. Don’t get scared of the many ingredients involved. Many of them are already in your pantry, so you won’t have to do any heavy shopping.
Other fruit desserts you will love:
- Mini lemon tarts
- Blueberry streusel muffins
- Apple pull apart bread
- Blueberry buttermilk cake
- Raspberry tiramisu
- Apple tiramisu
- Banana berry trifle
- Apple coffee cake
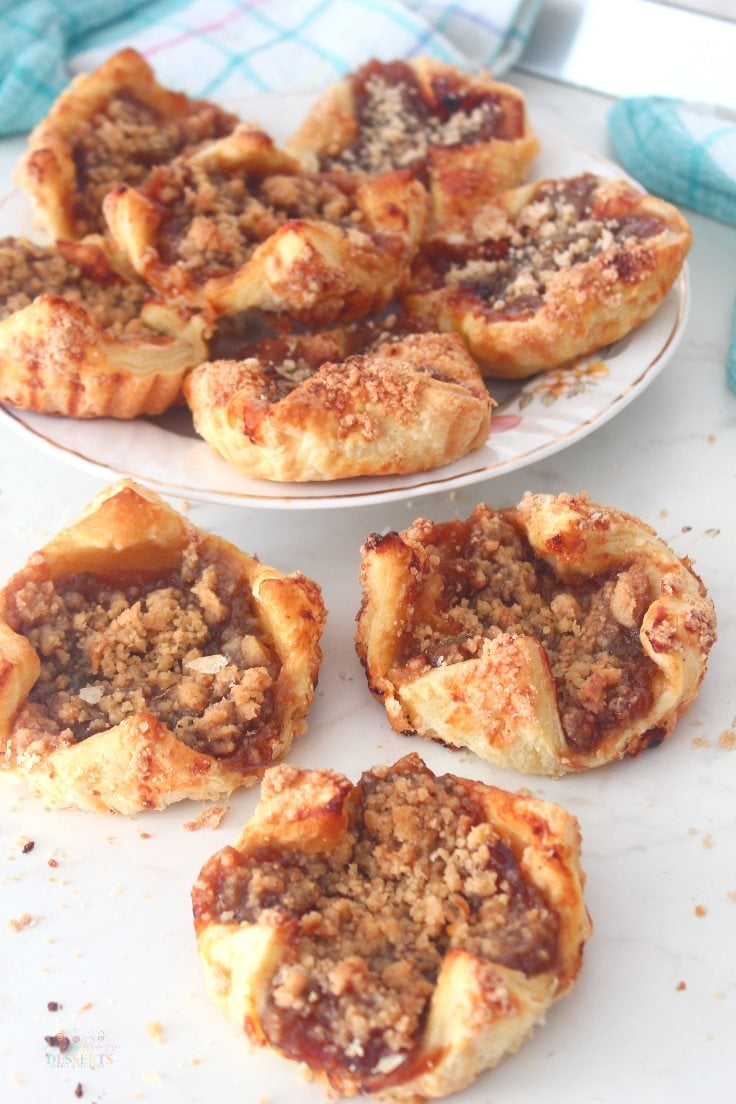
How to serve apple Danish pastry?
- It’s best to have the apple Danishes warm, but they are also delicious the next day, assuming you did leave some for then.
- They are great for breakfast, paired with a hot cup of coffee, or for brunch, as they are tasty and filling and will keep you going for some time.
- They look good enough to be served at brunch parties, and be sure guests will clean up the tray in the blink of an eye.
I like to bake a large batch during the weekend, so that we can enjoy a tasty treat throughout the whole week.
I like making small nests, but this apple Danish can also be made as a braided cake and filled with so many delicious things: sweet cheese, strawberries, chocolate cream, the possibilities are endless. If you stick to the apple filling, try adding some crushed walnuts or peanuts for more crunchiness.
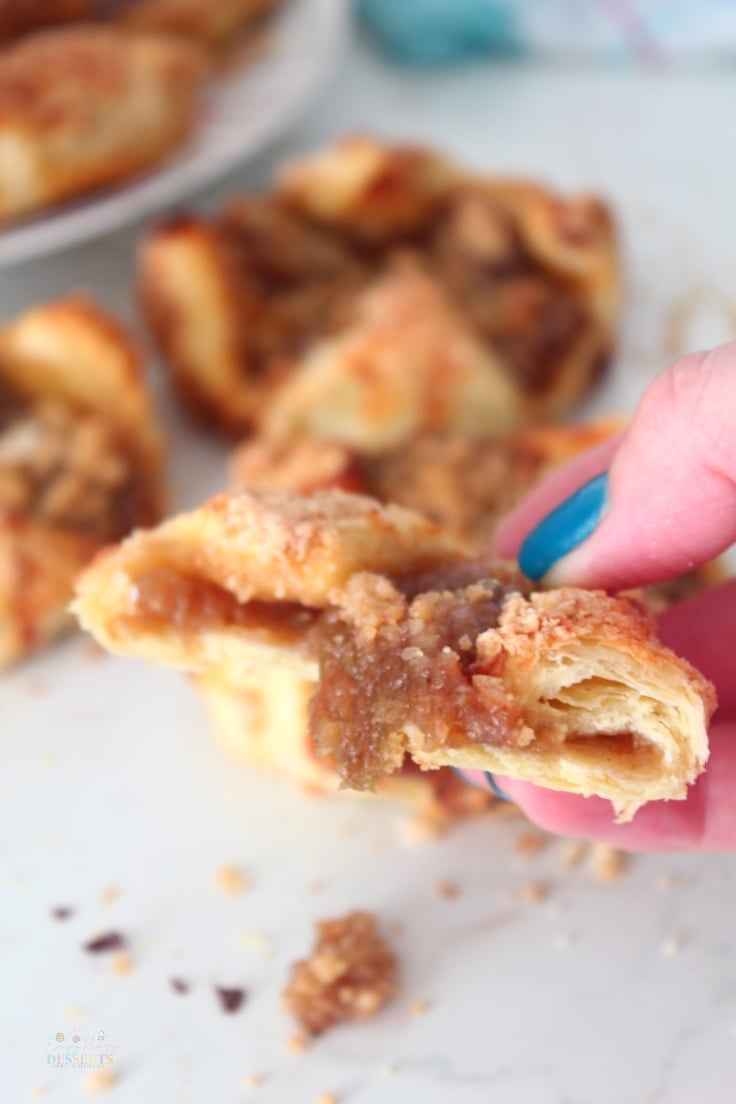
Tips and tricks for the best apple Danish:
- The best apples for baking are Pink Lady, Granny Smith, Fuji or Gala. They are firm enough and keep their shape well. Softer varieties won’t keep that well after baking;
- Apple Danish can be made ahead of time. You can assemble it and wrap in plastic wrap, then keep in the refrigerator for up to 2 days. Before baking, leave at room temperature for about an hour or add some extra 5 minutes of baking if starting cold;
- This pastry can be frozen before and after baking. Before baking, assemble it and freeze it for 3-4 hours on a dish lined with parchment paper. Transfer to a freezer bag and keep for up to 3 months. Extend baking time with 15-20 minutes after taking out. After baking, put in an airtight freezer-safe container and freeze for up to one month. Reheat in the oven until warm.
Can you freeze apple Danish pastries?
Yes, you can! You can freeze them uncooked or cooked. If freezing raw, do all the steps in the recipe up to the baking part. Place the mini tart pans in a large container before storing in the freezer. When ready to bake, take out of the freezer and bake them in a pre heated oven until golden brown.
If freezing these pastries after baking, coo completely and place in a zip bag or a large container, before storing in the freezer. They can be store for up to 3 months.
Please tell me what you think of this recipe and what do you like to pair it with. Crumbs, no crumbs, glaze or no glaze? Share your thoughts in the comments below.
Apple Danish
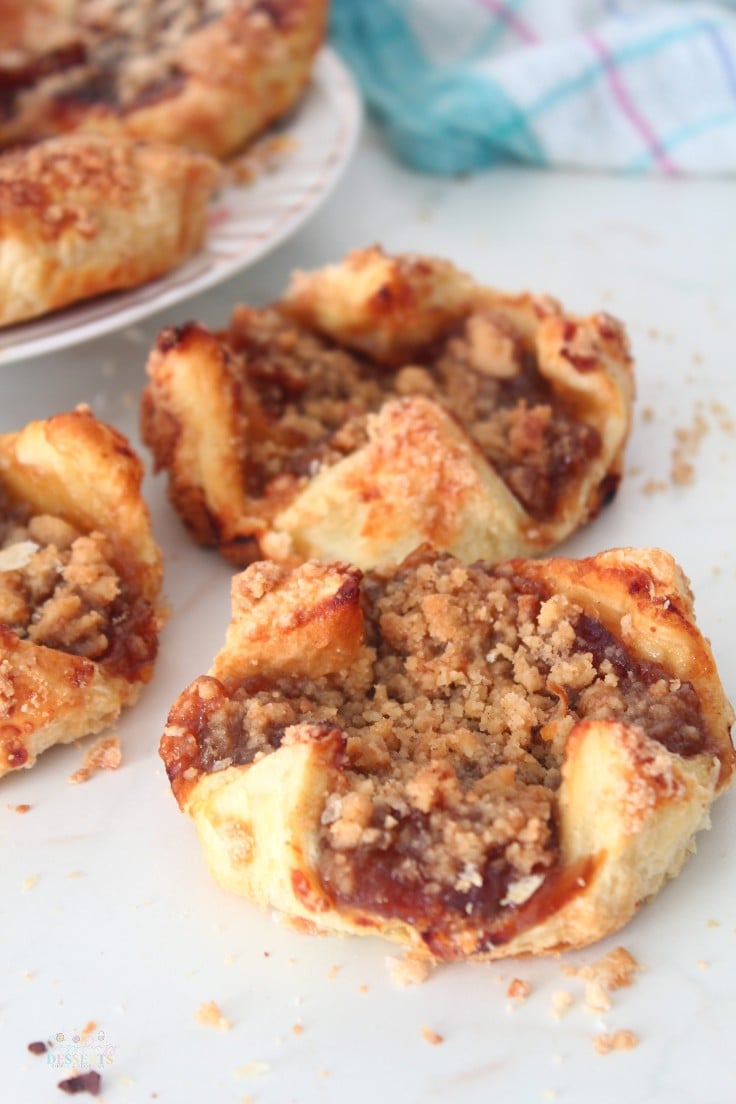
What do you need to make this Apple Danish recipe?
The fastest way to get the apple cinnamon Danish filling is to use canned apples, but with so many fresh ones available, I guarantee you will get the best result by making your own from scratch. This apple Danish recipe taste so much better with fresh apples! It’s just about 8 minutes of cooking, so it’s worth the effort.
Crumb topping is a thing with these tasty nests. It’s a simple mix of just a few ingredients and sprinkled over the top. You can also leave it out if you think you don’t need it, but once you use it, I’m sure you won’t look back. I tell you, it’s totally worth washing one more dish!
The glaze for this apple Danish puff pastry is optional and I opted to leave it out for this time. But it adds a delicious flavor and it also looks really nice. Just mix some icing sugar with milk and vanilla extract and you’re good to go. Kids will love helping out by licking the bowl clean.
For the dough, you can go for the quick store-bought frozen kind that will be ready for baking in about 40 minutes, but you can also make your own puff pastry. This will take more time though. Either way, it’s best to keep all the ingredients cold, to get that great flaky result.
Honey also goes great with baked apples, so you can add a little to the filling to give it a special flavor. Or, just sprinkle a little on top.
How do you make apple Danish?
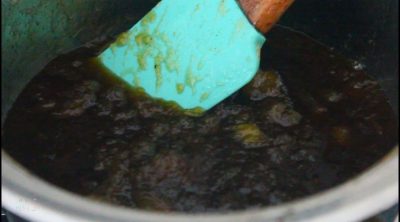
- Start by mixing diced apples with lemon juice, butter, cinnamon, nutmeg, sugar, salt, vanilla extract and corn starch. Cook them over medium heat until you get a jelly like mixture.
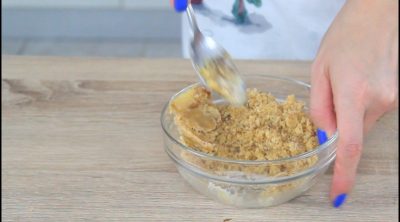
- To make the crumbs, mix flour, butter and brown sugar.
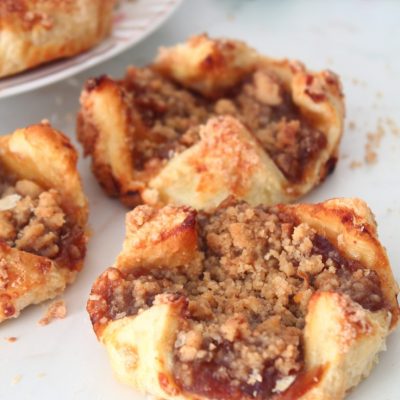
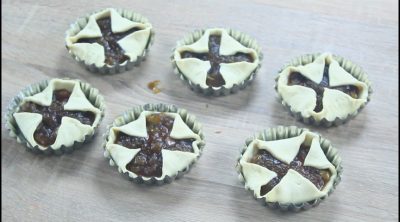
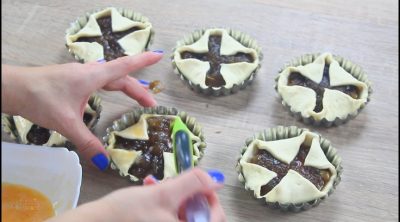
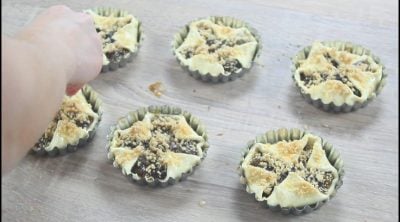
- Cut the puff pastry into squares and place in mini tart molds. Fill with the apple filling, sprinkle crumbs and brush with egg.
- Bake as instructed on the puff pastry package.
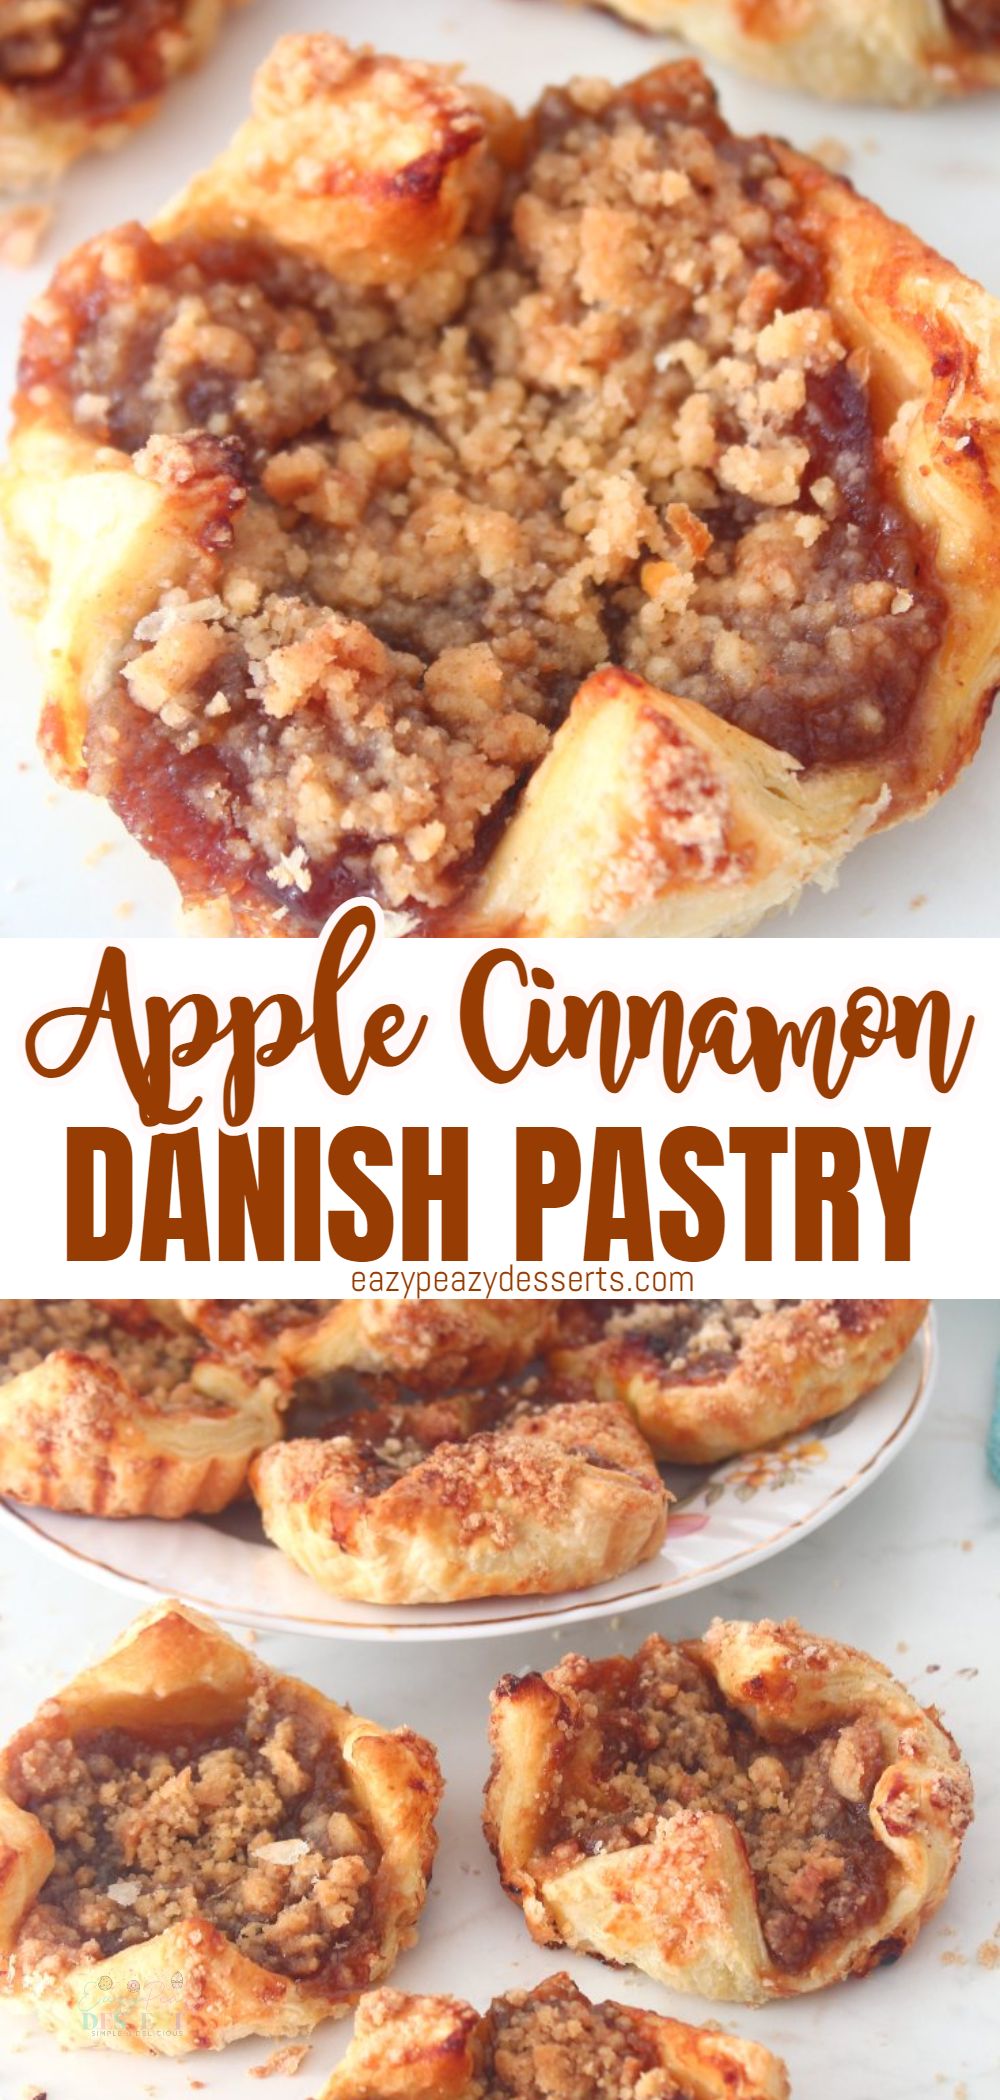
Pin to save for later
Print the recipe card
Apple Danish recipe
Equipment
Ingredients
- 1 sheet puff pastry if you like less filling in each pastry nest, use 2 pastry sheets
- 1 egg
For the apple filling
- 3 apples medium, diced
- 1/2 lemon juice
- 1/2 stick butter melted
- 1 cup sugar
- 1/4 tsp salt
- 1/8 tsp nutmeg powder
- 1/2 tsp cinnamon powder
- 1 tbsp corn starch
- 1 tsp vanilla extract
For the crumbs
- 2/3 cup flour add a little more if crumbs are too soft
- 1/2 cup brown sugar
- 4 tbsp butter melted
- 1/2 tsp cinnamon powder
Instructions
- In a saucepan, mix apples with lemon juice, melted butter, sugar, salt, nutmeg, cinnamon, corn starch and vanilla extract. Cook over high heat until bubbly then turn the heat to low and cook until you get a jelly like texture. While cooking, press the apples with a potato masher to mash into a puree.

- Make the crumbs by mixing the crumb ingredients with a spoon until crumbs are formed. You might need to add a bit more flour to get to the texture you like.

- Pre heat the oven as instructed on the pastry package. Line a baking sheet with baking paper.
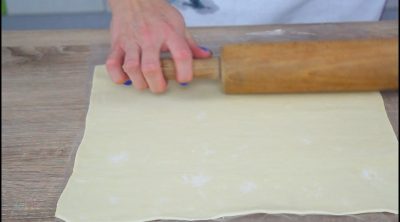
- Spread the puff pastry and roll out a bit with a rolling pin.

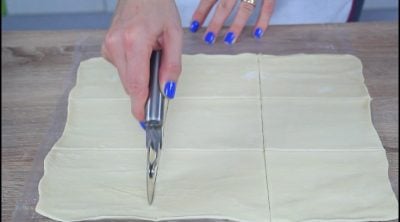
- Use the pastry wheel or a pizza wheel to cut the pastry into 9 squares/rectangles.

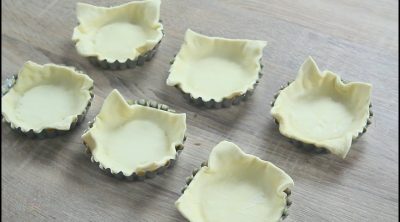
- Add the pastry squares to the mini tart pans. If your pans are not non stick, line some baking paper to the bottoms.

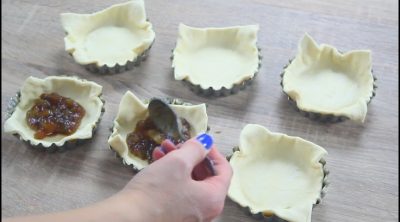
- Add the apple filling to each nest

- Fold the corners inside.

- Brush with egg wash

- Sprinkle crumbs over each tart

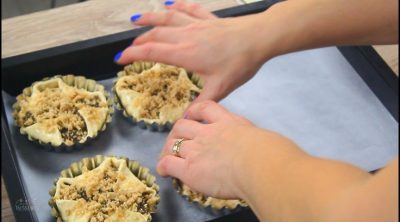
- Transfer the pans to a baking sheet and bake as instructed on the puff pastry package. The pastry should be golden brown.



Leave a Reply