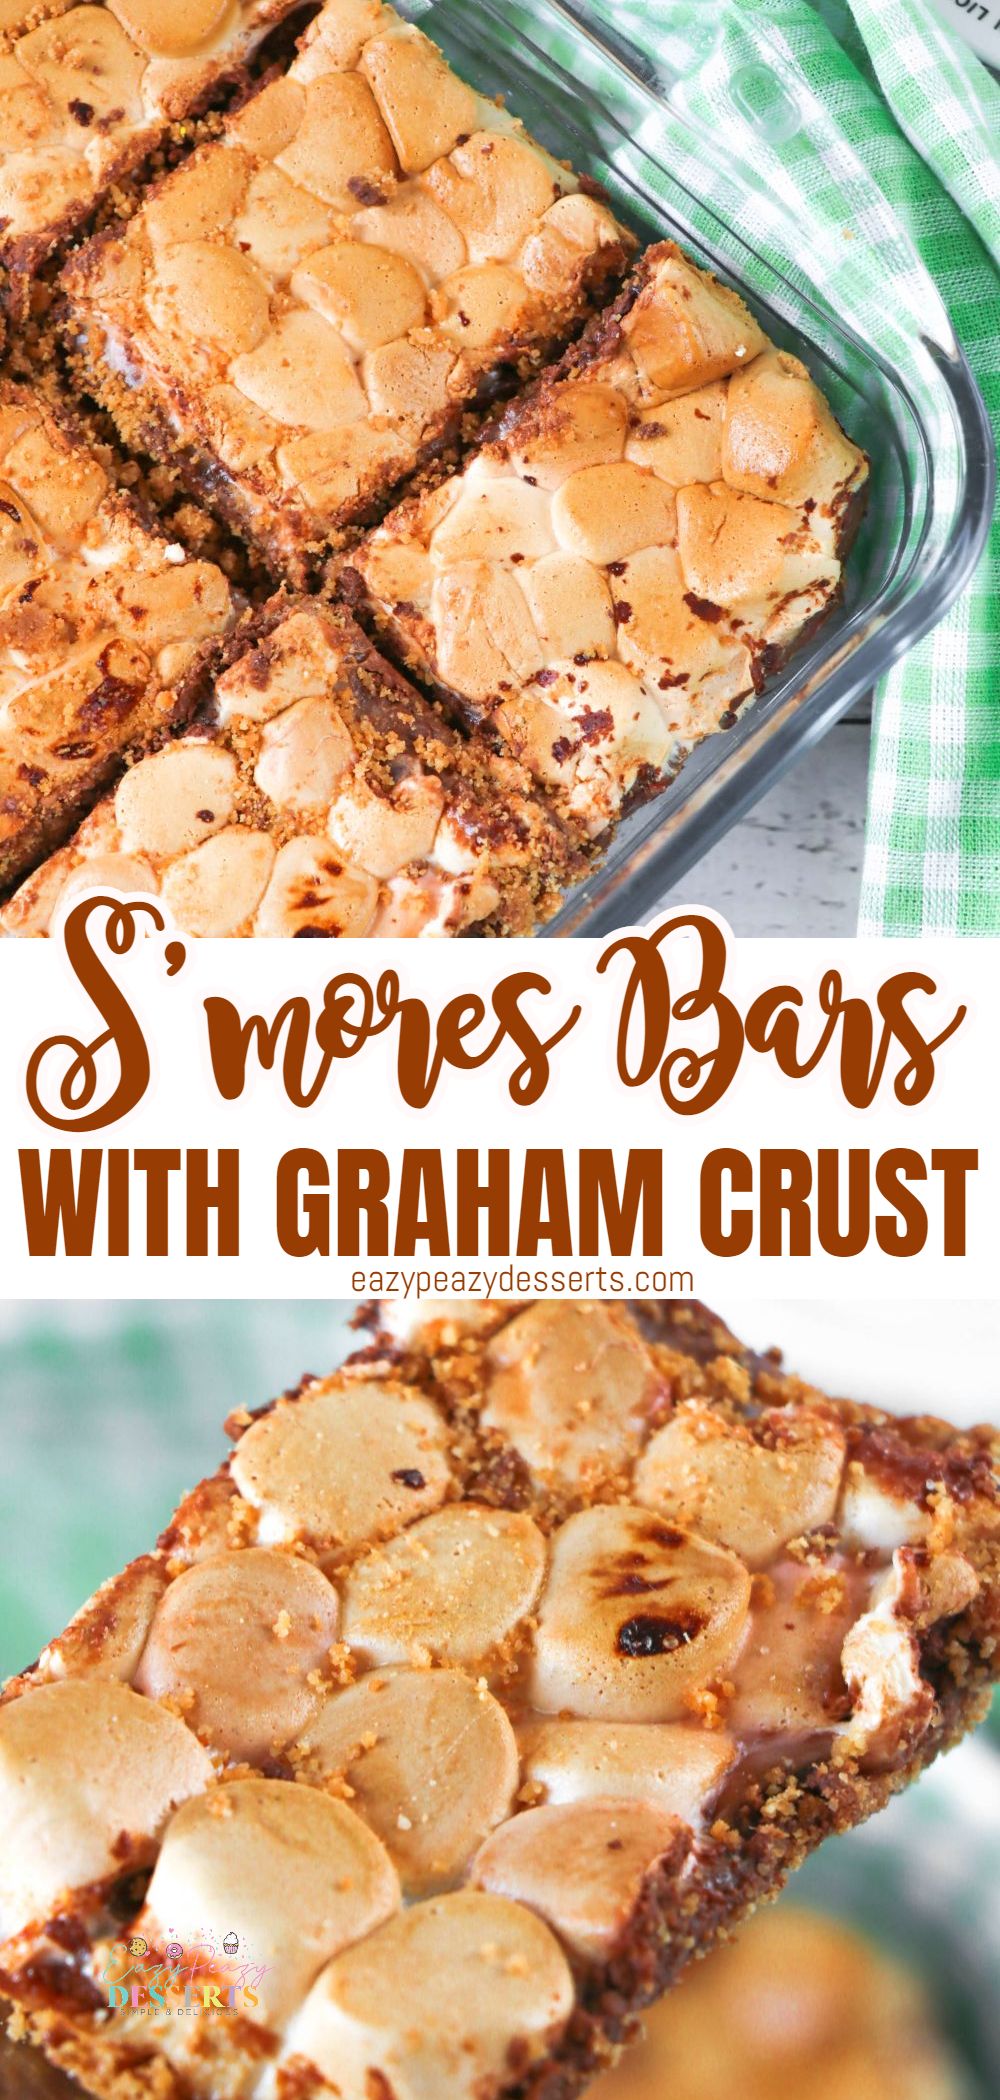
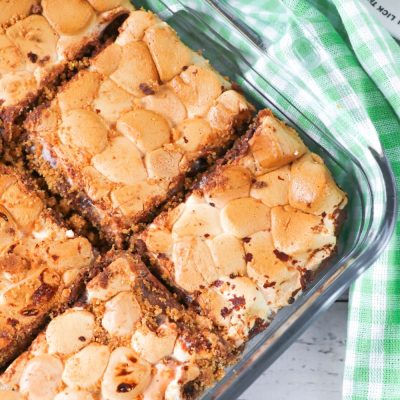
The classic flavors of graham cracker, chocolate, and marshmallow get an easy-to-make update in this s’mores bars recipe. They are a quick and easy treat when feeling nostalgic for the well-loved flavors of the original campfire dessert.
S’mores bars
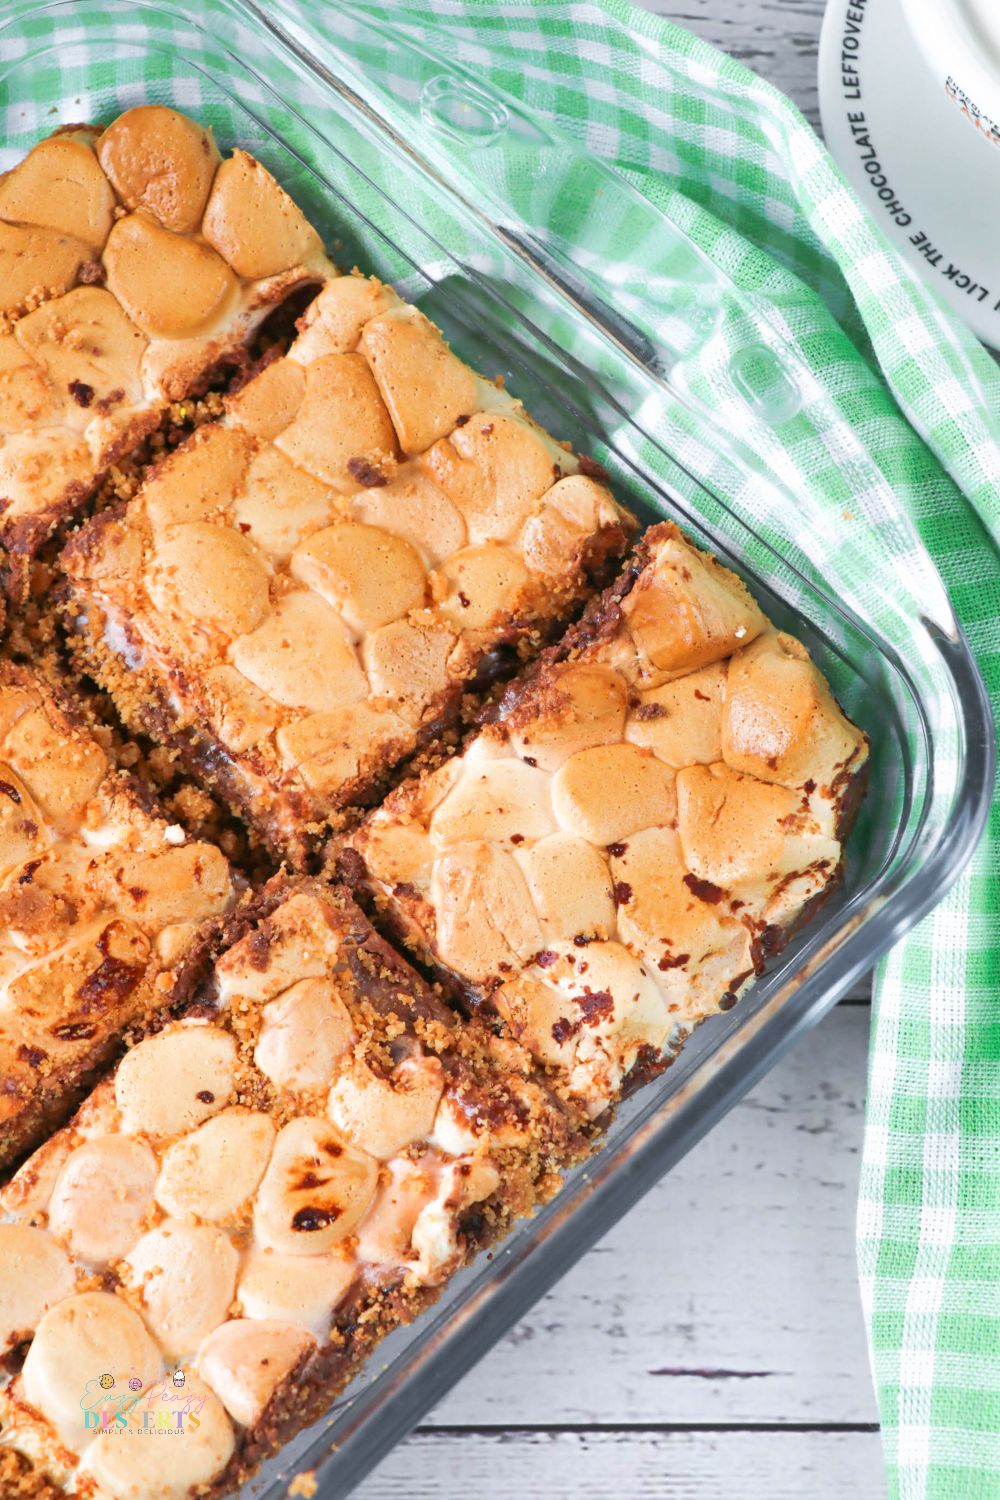
Sitting around a campfire is an activity well-loved by many. Sharing stories, feeling toasty by a bustling fire, and spending time in nature produce positive memories. Whether you have a fire pit in your backyard or are on a camping trip, most people look back fondly on the times spent around a fire. To make these sweet memories even sweeter, making smores over the flames is a campfire essential. With my simple recipe for smores bars, you can now enjoy these flavors on days you can’t watch the fire flicker.
The campfire experience will forever be something I hold near and dear to my heart. As a young girl, my father would take us on “getaways” to our backyard, where we would pitch a tent and build a fire. We would pretend that we were on a wilderness expedition, playing make pretend and telling stories. I kept this tradition alive when I moved out of my childhood home by inviting friends over for relaxing get-togethers in my backyard. The laughter we all shared as the marshmallows melted and made our fingers joyfully sticky always brings a smile to my face when I think back on those days.
Want more chocolate desserts?
- Sandwich cookies chocolate lasagna
- Chocolate peanut clusters
- Chocolate fudge cupcakes
- Wacky cake recipe
Wanting to indulge in the memory of those pleasant times, I set out to create a less messy, equally delicious alternative. And, voila! This smores bars recipe came to life. Sharing this creation excites me as I know it will deliver positively delicious moments and evoke happy camping memories for all. Serve these s’mores bars up as an easy-to-distribute treat at parties or during quiet nights at home when the nostalgia starts to creep in. Whenever and whatever brings you to whip them up, I promise your taste buds will be delighted.
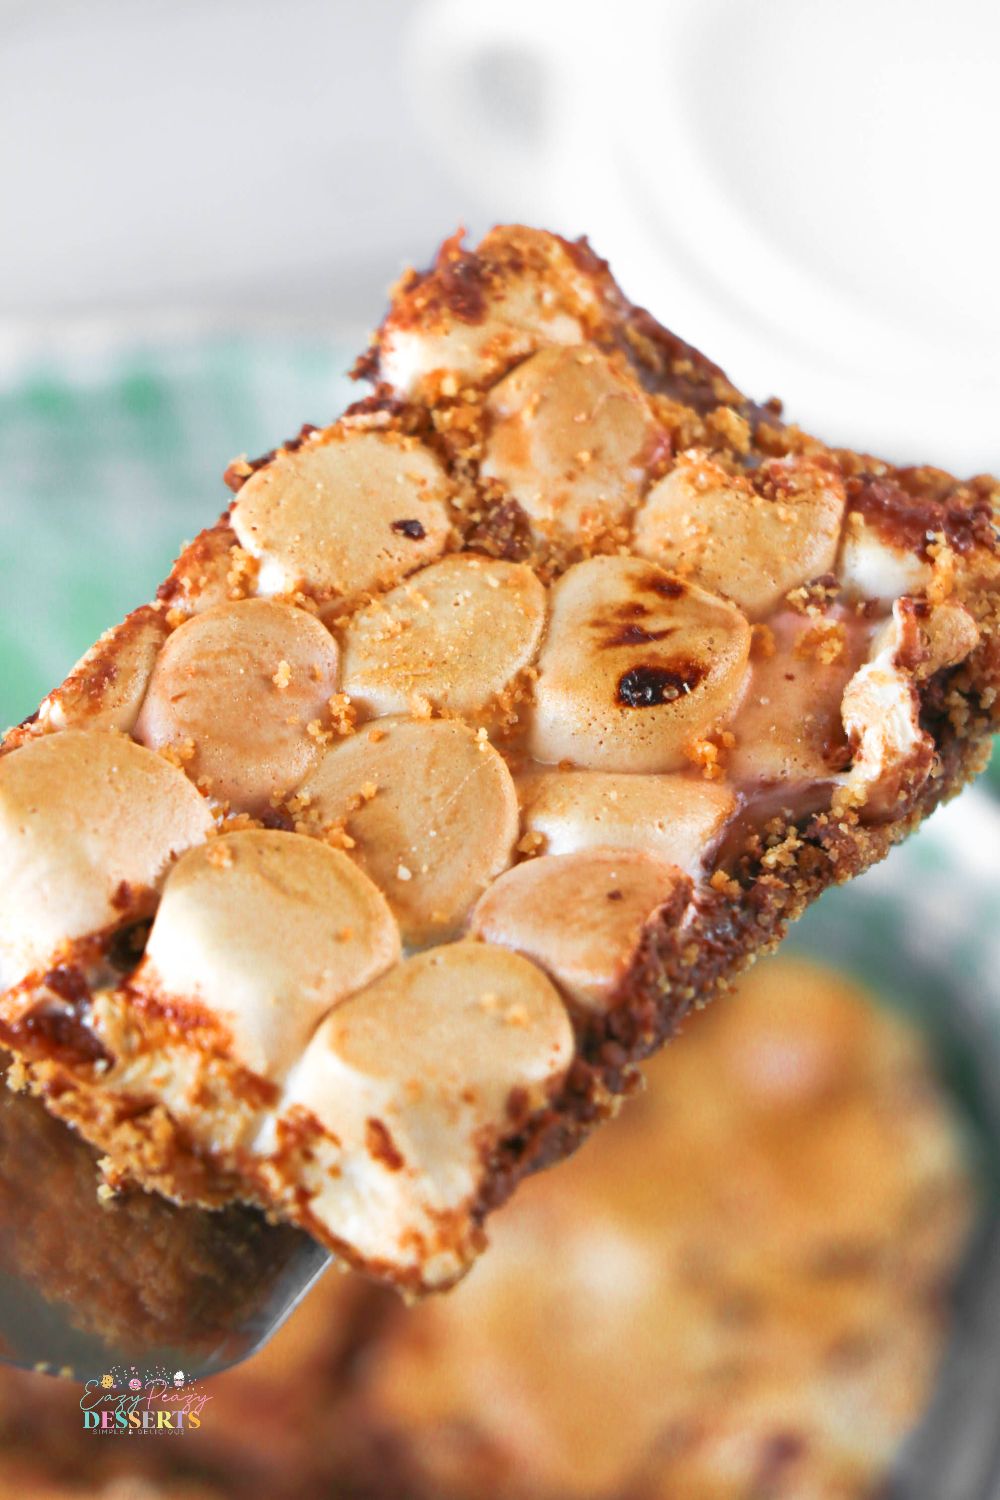
Smores: Fun Facts & Origin
Just like most of us have happy histories involving smores, the s’more itself has an interesting background. Did you know we have the Girl Scouts to thank for the original smores recipe? The Girl Scouts published “Tramping and Trailing with the Girl Scouts” in 1927 and within its pages was a recipe to make smores, or “Some More,” as they called it. Loretta Scott Crew is credited for creating this original, and it called for 16 graham crackers, 16 marshmallows, and eight bars of chocolate toasted up and smashed together.
This creation was said to come in handy when trying to feed sixteen hungry scouts. Publications continued to reference this delectable treat as “Some More” until approximately 1971, but the onset of the nickname remains unclear.
Share these fun facts, and give thanks to the Girl Scouts as you happily munch on your easy-to-make, simply delicious smores bars.
Now let’s answer some of your burning questions to make sure you’re set up for success.
S’mores Bars Frequently Asked Questions
Can I use jumbo marshmallows instead of mini marshmallows?
Sure! While I enjoy using mini marshmallows for my smores cookie bars, subbing them out for whichever kind is available to you is fine. If you’re using larger marshmallows, cutting them in half can be helpful. My preference for the mini variety is due to controlling how much I put on and how quickly they melt. It’s essential to keep a watchful eye on the oven to ensure your marshmallows do not burn.
Can I use marshmallow fluff instead of regular marshmallows?
Why not!? If marshmallow fluff is all that is available to you, go for it. It’s a bit messier and more challenging to spread, but it will produce a yummy product. However, the cooking time on this may change, so be sure to keep an eye out when baking.
How do I cut the s’mores bars without making a mess?
The best part of this smores bar recipe is the ooey, gooey product it produces. However, some of you may be looking to create this treat in bar form to avoid the messiness brought on by cooking the classic variety over a campfire. If you want to make sure you can provide clean cuts, freezing the bars for 10 minutes can help them set up quickly, allowing easier cuts. After cutting, you can thaw them and enjoy them.
However, if you want to enjoy them warm out of the oven, diving in and forgiving yourself for any potential mess is the way to go. Grease up a knife, cut it into slices, and enjoy!
Lastly, always line your pans with parchment paper to help lift any dessert out of the pan seamlessly.
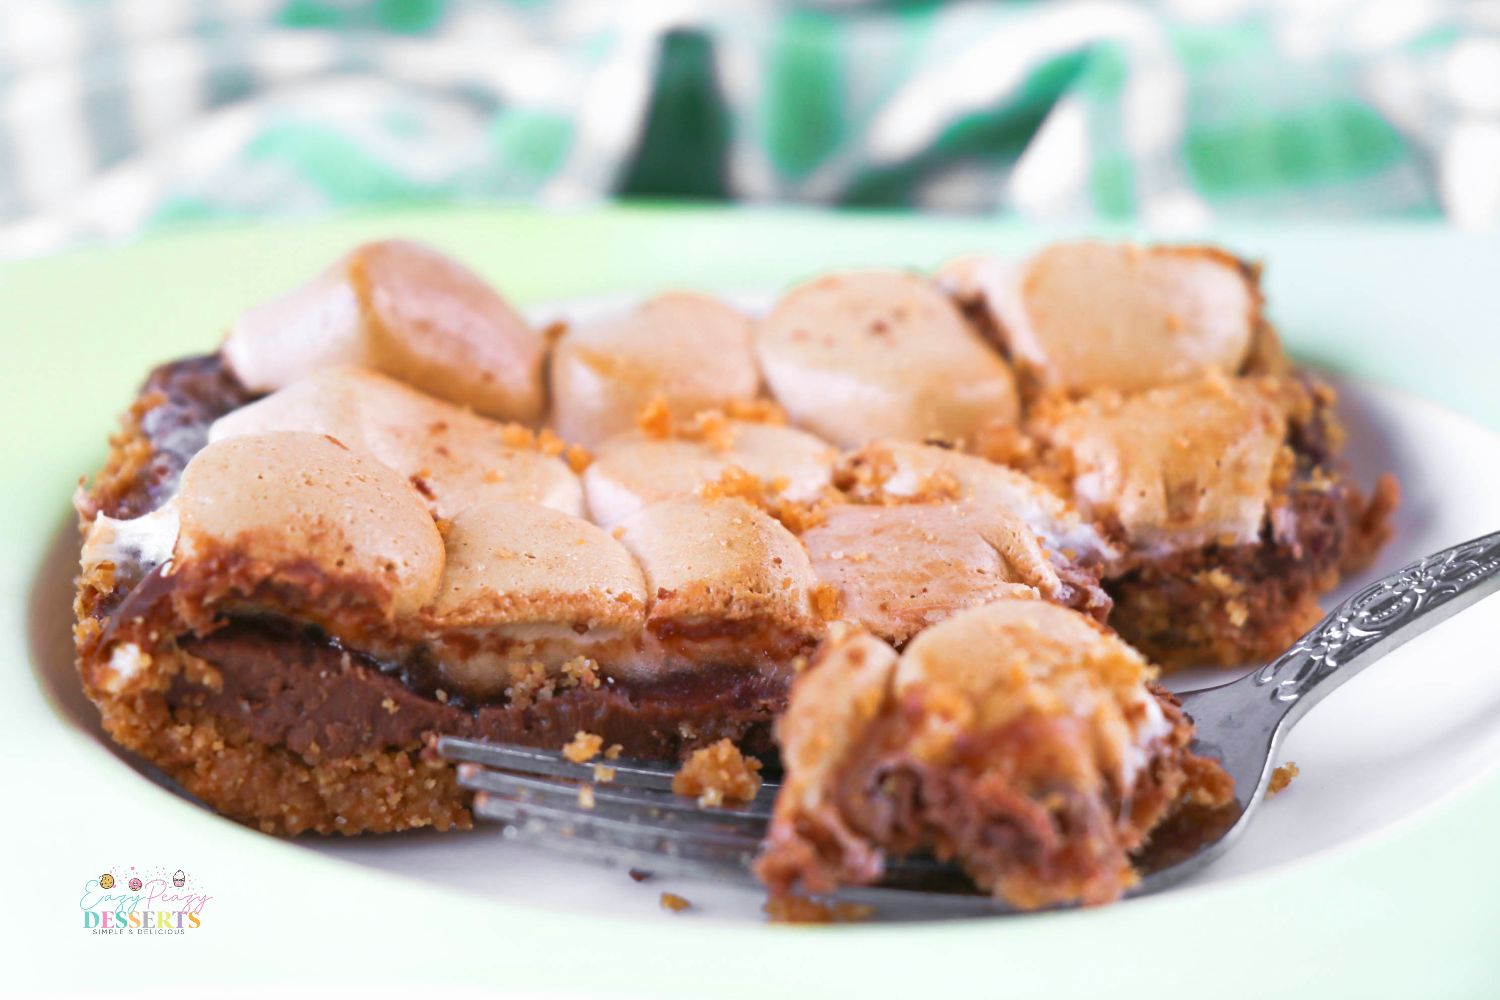
How to store s’mores bars?
If you plan to refrigerate them, they will last for about one week in an airtight container. If you prefer to leave your s’mores bars at room temperature, airtight storage will keep your treats delicious for approximately three days.
Can I freeze smores bars?
Yes! When ready to serve, allow them to thaw and place in the oven or under the broiler to enable the smores bars to take on the original consistency.
Can I double this recipe?
You bet! Double it up for double yumminess. Simply multiply the measurements, and make sure your baking pan is large enough to contain the ingredients.
Now that you are geared up with fun facts, a list of ingredients, and answers to frequently asked questions, I hope you feel confident to jump into these deliciously classic flavors by baking my smores bar recipe. Once you’ve baked yours, let us know how it went in the comments below. And, as always, happy baking!
What are you waiting for? Let’s get baking!
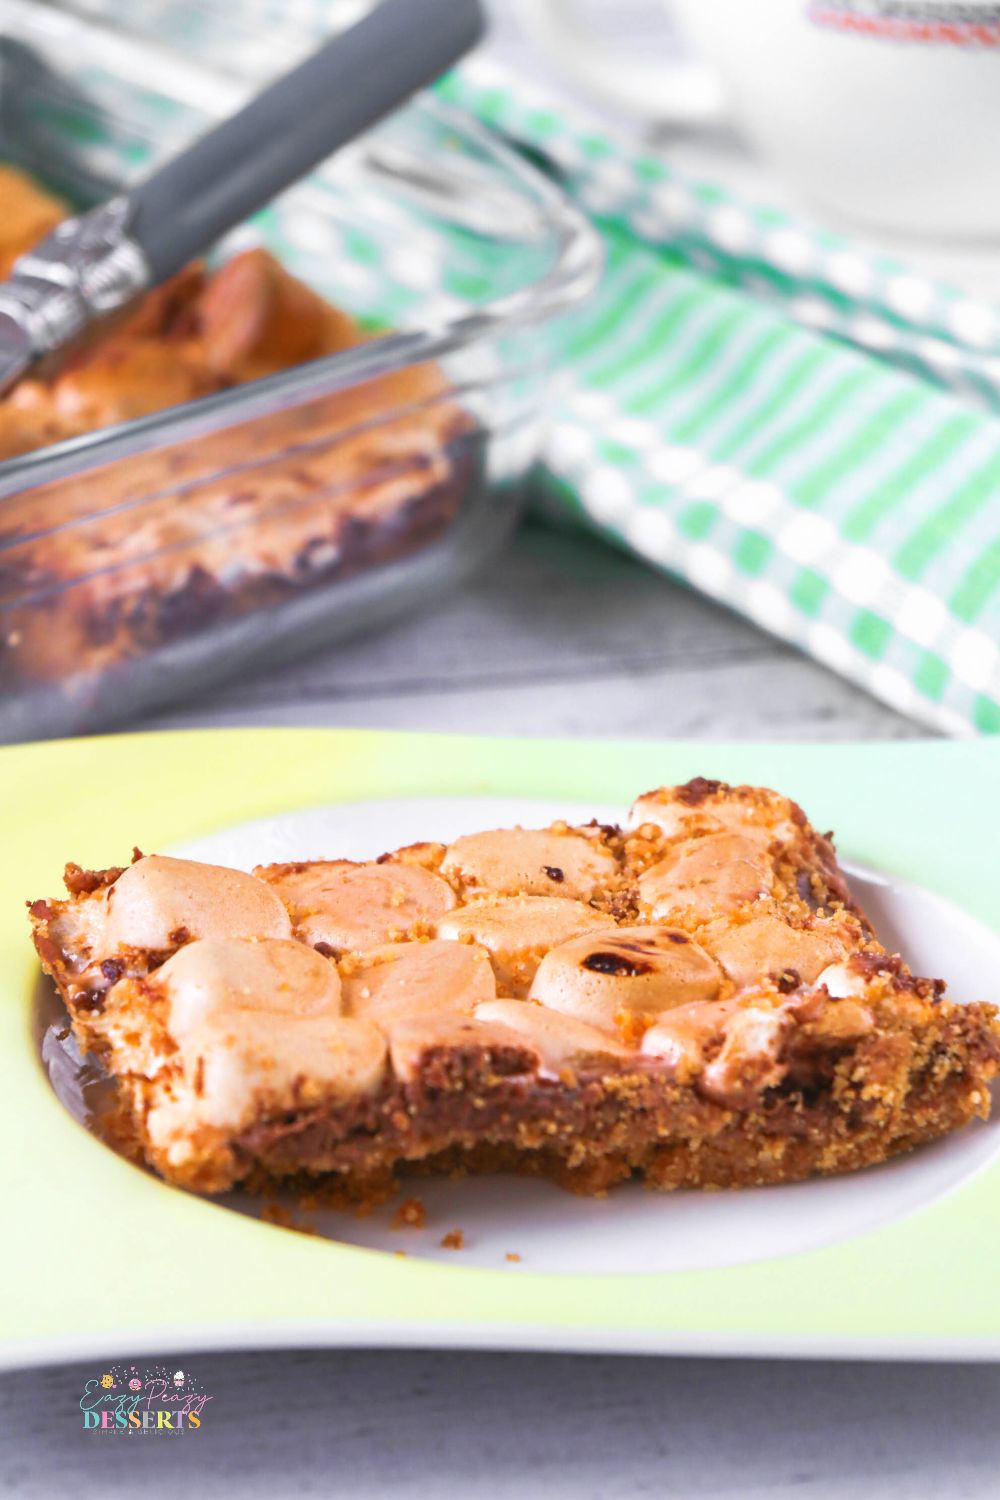
What do I need to make s’mores bars?
Get yourself prepped and ready by gathering these baking tools:
- Parchment paper
- Large baking pan
- Mixing bowl
- Measuring spoons
Most importantly, grab your ingredients and get set up to prepare deliciousness. Here’s what you will need:
- unsalted butter
- graham cracker crumbs
- confectioner’s sugar
- chocolate bars
- mini marshmallows
How do you make s’mores bars?
- Put a parchment paper in large baking pan.
- Preheat the oven to 350 F.
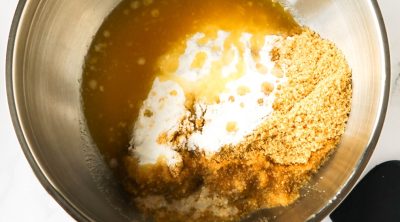
- In a bowl, mix the graham cracker crumbs, confectioners’ sugar and melted butter.
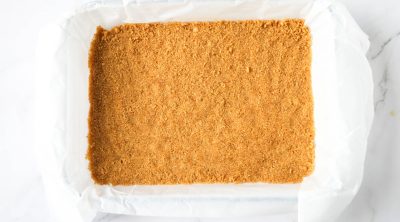
- Put the mixture to the bottom of the baking pan. Press down the crumbs with your finger or a help of a glass.
- Place in the oven and bake for 5-7 minutes (the crust will harden as it cools.)
- Take out from the oven and let it cool for 5 minutes.
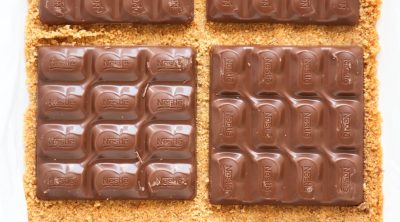
- After, put the chocolate bars on top of the crust and place in oven for 3 minutes (until the chocolate just begins to melt)
- Spread the chocolate with spatula until all the crusts is covered.
- After, cool it down for 2 minutes.
- Place the marshmallows on top of the chocolate.
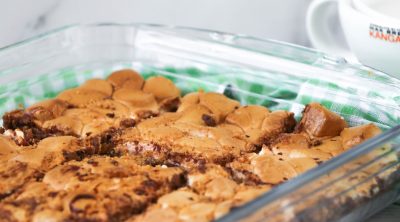
- Put the pan into the oven and cook for 5 to 10 minutes. (Watch for the marshmallows, do not burn, because every oven is different)
- After it cooked, let them cool completely. If you want, you can chill them in the fridge.
Pin to save for later
Print the recipe card
S'mores bars
Equipment
Ingredients
- ½ cup butter melted
- 2 cups graham Crackers crumbs
- ½ cup confectioners’ sugar
- 5 bars Hershey Chocolate
- 1 package mini marshmallows
Instructions
- Put a parchment paper in a large baking pan. Preheat the oven to 350 F. In a bowl, mix the graham cracker crumbs, confectioners’ sugar and melted butter.

- Put the mixture to the bottom of the baking pan. Press down the crumbs with your finger or a help of a glass. Place in the oven and bake for 5-7 minutes (the crust will harden as it cools). Take out from the oven and let it cool for 5 minutes.

- After, put the chocolate bars on top of the crust and place in oven for 3 minutes (until the chocolate just begins to melt). Spread the chocolate with spatula until all the crusts is covered. After, cool it down for 2 minutes.

- Place the marshmallows on top of the chocolate. Put the pan into the oven and cook for 5 to 10 minutes. (Watch for the marshmallows, do not burn, because every oven is different)

- After it cooked, let them cool completely. If you want, you can chill them in the fridge.)




Leave a Reply